
Blog
Tesla Glass Roof Damage: Repair or Replacement Guide
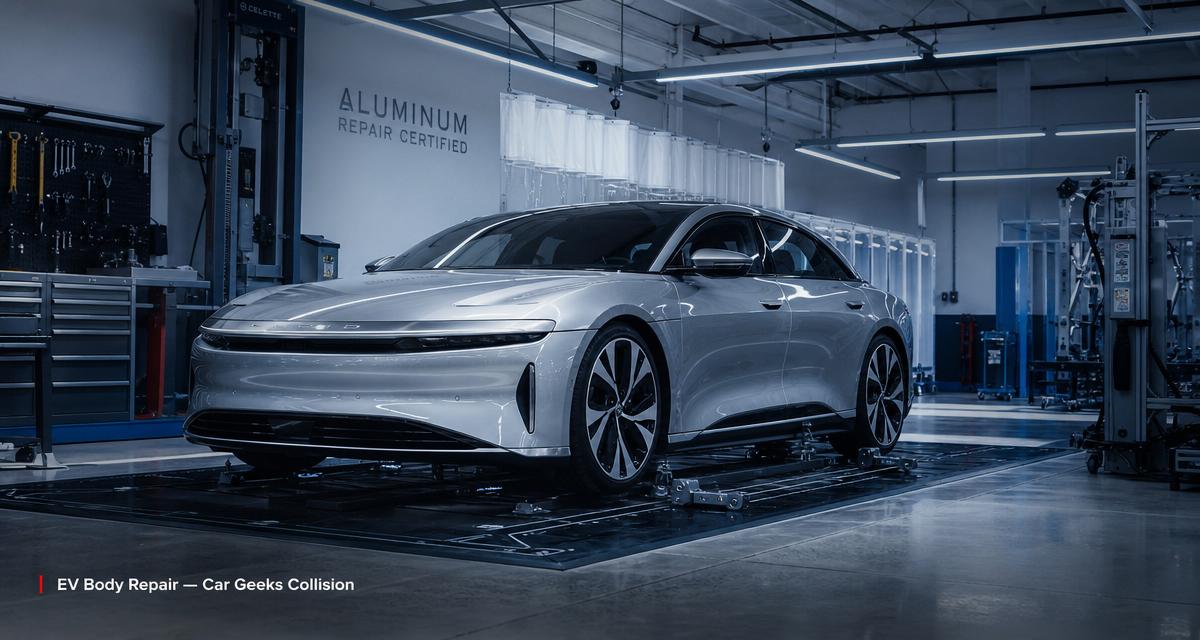
Model 3 and Model S owners must understand Tesla glass roof replacement rules to ensure proper service and avoid costly mistakes.
Whether damaged Tesla roof glass can be repaired depends on the damage’s size, location and affected glass layer. Tesla publishes model-specific repair criteria, so the vehicle, model year and affected roof panel should be professionally inspected before deciding between repair and replacement.
Here’s the short answer:
Repair may be possible when a small chip or crack affects only the exterior glass layer and falls within the permitted area in the applicable Tesla procedure.
Replacement may be required when damage reaches the inner glass layer, falls within a restricted edge zone or exceeds the applicable size or prior-repair limit.
Next step: Ask the repair provider to identify the current Tesla procedure for your exact model, model year and roof panel before recommending a repair.
Key Takeaways
Tesla’s published roof-glass criteria are model- and procedure-specific.
For the 2024+ Model 3 procedure reviewed for this guide, roof-glass repairs are not permitted within 50 mm of the front or rear edge or within 253 mm of the left or right edge.
Under that procedure, qualifying exterior-layer cracks shorter than 50 mm and chips less than 50 mm wide may be repairable in the permitted area.
Damage to the inner glass layer requires replacement under the cited procedure.
Tesla limits a roof-glass panel to three qualifying repairs under the cited procedure. If another repair becomes necessary, replacement is required.
The final decision should follow an inspection and the current service information for the exact vehicle.
How Tesla Determines Whether Roof Glass Is Repairable
Tesla evaluates both the severity and location of roof-glass damage. The applicable service information divides the panel into restricted and potentially repairable areas. Damage in a restricted area does not meet the published repair criteria, even when the chip or crack appears small.
For the 2024+ Model 3 procedure reviewed here, repairs are not permitted:
Within 50 mm of the front or rear edge of the roof glass.
Within 253 mm of the left or right edge of the roof glass.
When damage reaches the inner glass layer.
When the damage exceeds the permitted size.
When the panel has already reached the procedure’s repair limit.
Because these dimensions come from a specific Model 3 procedure, they should not be treated as universal specifications for every Tesla. A technician should confirm the correct procedure for the exact model, model year and affected panel.
Exterior-Layer and Inner-Layer Damage
Tesla’s cited procedure permits only limited damage to the exterior glass layer. Damage to the inner layer requires replacement under that procedure.
Glass-layer damage can be difficult to diagnose from a photograph or a casual visual inspection. Owners should not press on the crack or attempt to determine the affected layer by touch. A professional inspection is the appropriate way to evaluate the panel.
Repair Limits and Approved Materials
The cited Tesla procedure allows a maximum of three qualifying repairs on a roof-glass panel. When another repair becomes necessary, the panel no longer meets those repair criteria.
Tesla also identifies approved repair systems for qualifying glass repairs. A repair provider should consult the current Tesla service information instead of relying on a generic procedure.
Tools, adhesives, preparation methods, bead dimensions and curing instructions can vary by model, model year, panel and service-procedure revision. Ask the provider which current procedure applies to your vehicle and how the completed work will be documented.
What Roof-Glass Replacement Involves
When replacement is required, the process may include:
Confirming the exact panel and applicable Tesla service procedure.
Protecting the paint, interior trim and surrounding surfaces.
Removing trim or headliner components when required for access.
Removing the damaged glass with the tools specified for the procedure.
Preparing the bonding surface according to the adhesive and service instructions.
Test-fitting and aligning the replacement panel.
Applying the specified adhesive system.
Securing the panel while the adhesive cures.
Checking alignment, sealing and any affected vehicle systems before delivery.
The precise steps must come from the current procedure for the vehicle being repaired. A process used for one Model S or Model 3 roof configuration should not automatically be applied to another.
Adhesive Curing and Safe Drive-Away Time
There is no single drive-away time that should be promised for every Tesla roof-glass replacement. Safe drive-away time depends on the adhesive system, procedure and environmental conditions.
Tesla service information instructs technicians to follow the adhesive manufacturer’s curing and safe drive-away requirements. The repair provider should tell the customer when the vehicle can be driven and whether any temporary restrictions apply.
Does ADAS Calibration Apply?
Roof-glass replacement does not automatically mean every vehicle requires ADAS calibration. The shop should determine whether calibration, initialization or system checks are required by the applicable repair procedure or by any components disturbed during the work.
Before authorizing the repair, ask which checks are required for your exact vehicle and whether they are included in the written estimate.
Tesla Roof-Glass Replacement Cost
The cost of Tesla roof-glass replacement varies with:
The model, model year and affected panel.
Parts availability and shipping.
Required interior disassembly.
Labor and adhesive requirements.
Related body, trim or water-intrusion damage.
Any required system checks or calibrations.
Because these factors vary considerably, a vehicle-specific written estimate is more useful than a broad online price range. Ask the provider to identify parts, labor and additional operations separately.
Insurance Coverage in Florida
Comprehensive insurance may cover roof-glass damage, subject to the policy’s deductible, exclusions and claim terms. Florida’s statutory glass-deductible provision specifically addresses windshield damage, so owners should not assume it automatically provides zero-deductible coverage for roof glass.
Ask your insurer:
Is the damaged roof panel covered under my comprehensive policy?
What deductible applies to roof glass?
Do I have a choice of repair facility?
Does the insurer require photographs or an inspection?
Could additional damage discovered after removal require a supplemental estimate?
Coverage decisions should come from the policy and insurer, not from a general online statement.
How to Choose a Tesla Roof-Glass Repair Provider
Before scheduling the work, ask:
Which Tesla procedure applies to my model, model year and roof panel?
Does the damage qualify for repair under that procedure?
Which repair system, removal tools and adhesive will be used?
How will panel alignment and sealing be checked?
What curing time and driving restrictions apply?
Are any calibrations or system checks required?
What parts-and-labor warranty is provided in writing?
Will I receive an itemized estimate before work begins?
A trustworthy provider should be able to explain the recommendation clearly without calling manufacturer procedures “law” or guaranteeing insurance coverage before reviewing the policy.
Tesla Service Center or Independent Repair Facility?
A Tesla Service Center provides direct access to Tesla’s service system and parts process. An independent repair facility may also be able to perform appropriate work when it has access to the correct service information, tools, materials and qualified personnel.
The important question is whether the facility can document the procedure it will follow for the exact vehicle—not simply whether it uses the word “Tesla” in its marketing.
Request a Tesla Damage Assessment in South Florida
If your Tesla has collision or roof-glass damage, photograph the affected area without pressing on the panel and note whether the panel has been repaired previously. Car Geeks Collision can review the visible damage and discuss the appropriate next step for drivers in Hollywood and nearby South Florida communities.
[NEEDS CONFIRMATION BEFORE PUBLISHING: Verify that Car Geeks Collision currently performs roof-glass repair or replacement for the exact Tesla model involved, and confirm available calibration, warranty and insurance-coordination services.]
FAQ
Can a cracked Tesla glass roof be repaired?
Some limited exterior-layer damage may qualify for repair when it meets the location, size and prior-repair criteria in the current Tesla procedure for that vehicle. Damage to the inner layer or within a restricted area may require replacement.
How many times can Tesla roof glass be repaired?
The cited 2024+ Model 3 procedure allows a maximum of three qualifying repairs on a roof-glass panel. Confirm that the same limit applies to the exact vehicle and panel being inspected.
Does Florida’s zero-deductible windshield rule cover Tesla roof glass?
Florida’s statutory deductible provision specifically refers to windshields. Roof-glass coverage and the applicable deductible depend on the customer’s insurance policy.
How much does Tesla roof-glass replacement cost?
Pricing varies by vehicle, affected panel, parts availability, labor, related damage and any required system checks. Obtain a vehicle-specific, itemized estimate.
Will roof-glass replacement require ADAS calibration?
Not automatically. The repair provider should check the applicable Tesla procedure and determine whether any calibration, initialization or system check is required.
Sources
Tesla: Windshield and Roof Glass Repair and Replacement Guidelines for 2024+ Model 3
Florida Statutes §627.7288: Comprehensive Coverage; Deductible Not to Apply to Motor Vehicle Glass